Create Multi-Location Groups
What are Multi-Location Groups?
Multi-Location Groups let you organize many business accounts (stores, branches, franchises) under a single group. You create and manage groups in Partner Center, and users with access to a group see all of its accounts together in Multi-Location Business App. Groups suit enterprise clients, franchise operations, chains, and any client with multiple locations that need coordinated management and consolidated reporting.
Multi-Location Groups require a Premium subscription or higher.
Create a group
- In Partner Center, go to
Accounts→Multi-location Groups - Click
Create group - Enter a name for the group and save it
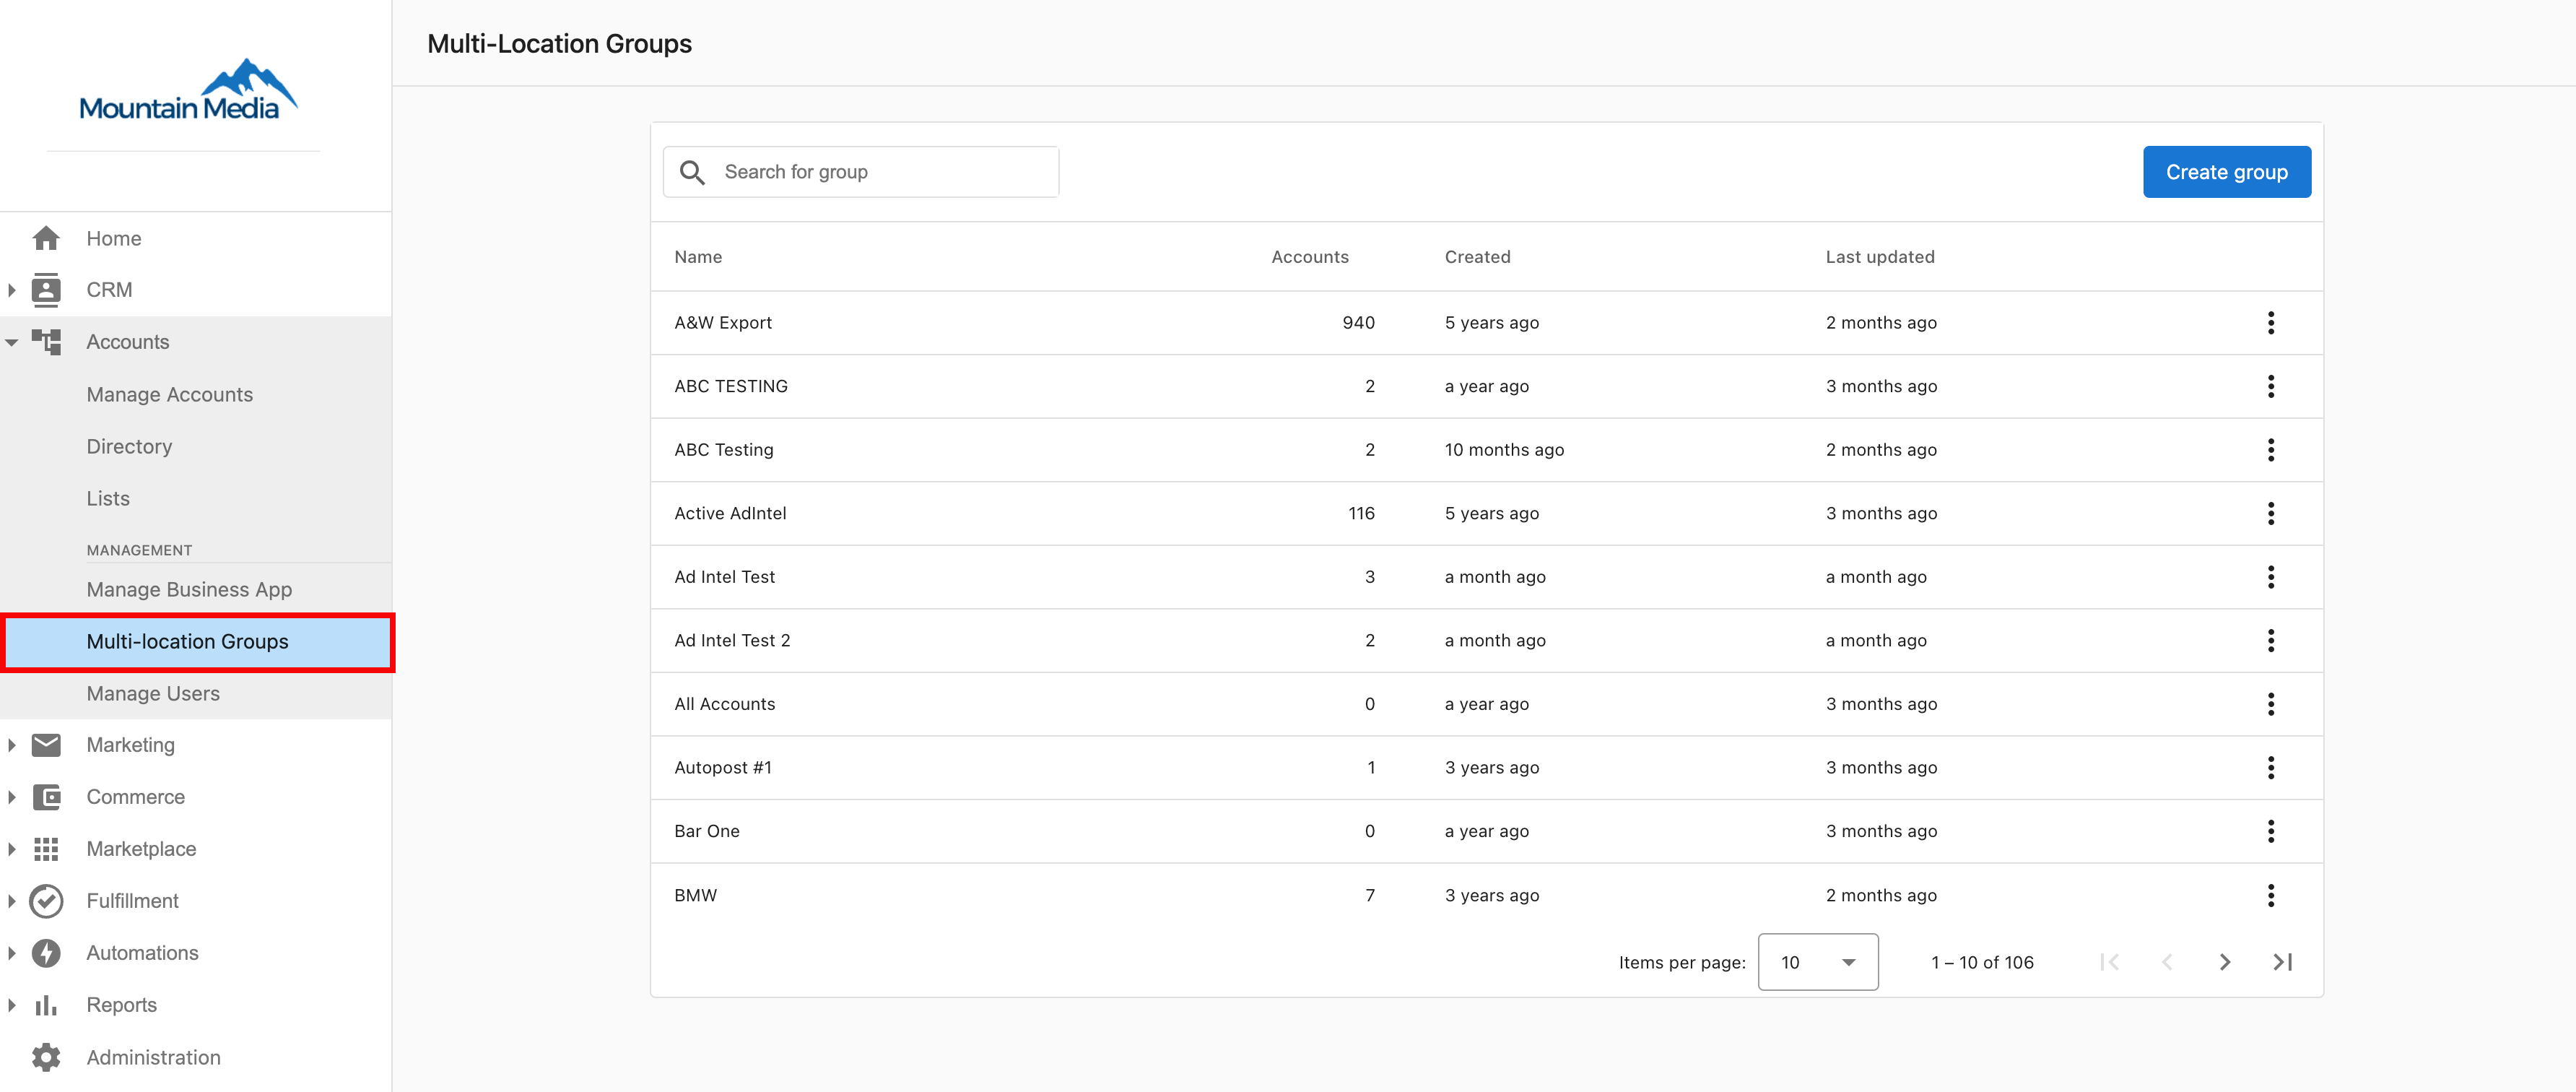
Use the client's corporate or brand name so the group is easy to find in the list, for example "Example Coffee Co." or "Example Medical Group."
Plan sub-groups before adding accounts
Sub-groups segment a group's accounts, for example by region or location type. They appear in Multi-Location Business App for every assigned user and are especially useful for reporting.
Each level of a group holds either sub-groups or accounts, not both. Create your sub-groups first, then add accounts to them.
To add a sub-group, open the group and click + Add sub-group. To nest a sub-group inside another, hover over the existing sub-group and click + sub-group. See Sub-groups for details.
Example structure:
Example Retail Co.
├── Northeast
│   ├── New York Store #001
│   ├── New York Store #002
│   └── Boston Store #003
├── Southeast
│   ├── Atlanta Store #004
│   └── Miami Store #005
└── West Coast
    ├── Los Angeles Store #006
    └── San Francisco Store #007
Add accounts to a group
- Go to
Accounts→Multi-location Groups - Click the group (or sub-group) you want to add accounts to
- Click
Add accounts - Click
+next to each account you want to add - Click
Done
The accounts must already exist in Partner Center. See Add accounts to group for screenshots of each step.
Give users access to the group
Open the group and go to the Users tab to choose who can access the group in Multi-Location Business App.
Manage the group
When you open a group, you see these tabs:
Accounts: The group's accounts and sub-groups, plus theGroup marketsetting, which sets the branding and listing sources the group and its sub-groups use in Multi-Location Business App. It doesn't change the individual accounts in the group.Users: Who has access to the groupFeatures: Features available for the groupSources: Listing sources for the groupAccount update history: A record of changes to the group's accounts
To see the group the way your client's users do, click Open in Multi-Location Business App.
Naming conventions
Consistent names make large groups easier to navigate:
- Group name: The client's official corporate or brand name
- Location accounts: A consistent format, such as "Brand - Location" ("Example Coffee - Downtown"), "Brand - Store number" ("Example Retail - Store #1234"), or "Brand - Area" ("Example Medical - North Campus")
Frequently asked questions (FAQs)
Can I add existing accounts to a Multi-Location Group?
Yes. Use Add accounts on the group to add accounts that already exist in Partner Center. Each account keeps its own data and remains accessible on its own.
Can I create sub-groups within a Multi-Location Group?
Yes. Open the group and click + Add sub-group. You can nest sub-groups inside other sub-groups. Each level holds either sub-groups or accounts, so create sub-groups before adding accounts.
What do I need to create Multi-Location Groups?
You need administrative permissions in Partner Center and a Premium subscription or higher.