How do I create a product in Vendor Center?
You create a product in Partner Center at Marketplace → Products → Create product, or in Vendor Center at Products → Add Product. You can sell it in your store on its own, package it with other products and services, activate it for your customers, and bill for it using Vendasta Payments.
What is a product?
A product is a representation of something you sell through the Vendasta platform. You can use products to represent a digital product, a service you provide, a physical product that you offer, or anything else you'd like to sell to your customers.
When you create a product, you have complete control over:
- Name
- Price
- Marketing material
- Order form
- And more
Naturally, some of the things you sell will be more complicated than others. That's why you can customize how you price, deliver, and fulfill what you sell using product editions and add-ons.
What are editions?
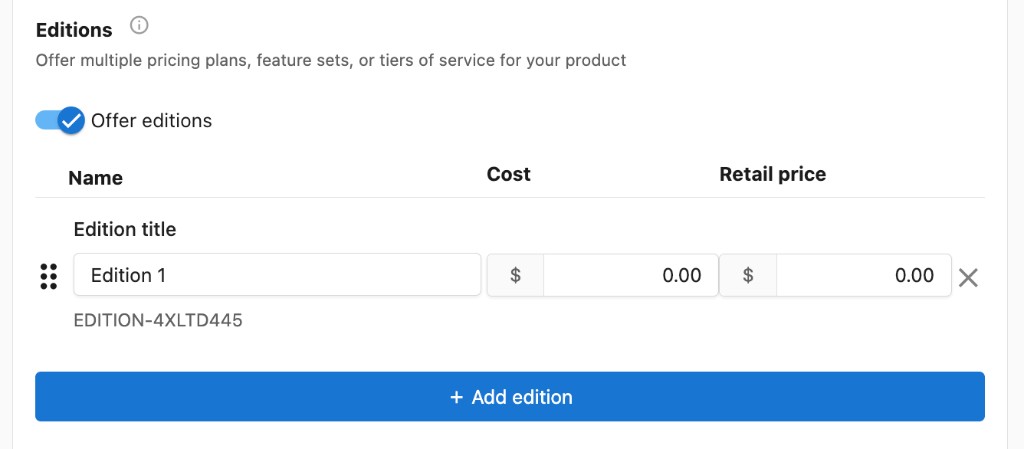
Editions are versions of your product that represent different levels of service, functionality, or pricing options that you offer. Customers can choose an edition of your product to buy and later upgrade or downgrade to a different edition when their needs change.
Editions of a product share marketing material and add-ons, but each edition can have its own price settings.
What are add-ons?
When you create a product, you may want to create one or many add-ons to sell alongside it. Use add-ons to support purchasing optional features or services related to your product.
For example, imagine you offer a website-building service to your customers. Create an add-on to represent supplementary services you offer as part of building that website: adding an additional page on the website, adding e-commerce functionality to the website you build, 24-hour support for technical issues, and so on.
Use add-ons to add value and flexibility to the products that you offer your customers. Customers can't purchase an add-on until they've purchased the add-on's parent product, so ensure that the add-ons you create add value to the product they belong to.
How do I create a product?
You can create a product from either Partner Center or Vendor Center:
Partner Center
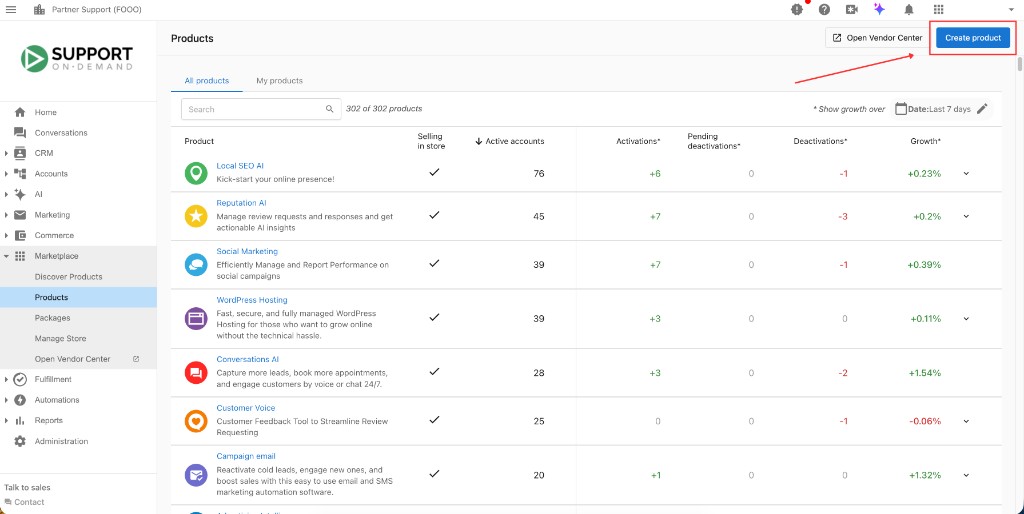
Go to Marketplace → Products, then click Create product in the top right corner.
Vendor Center
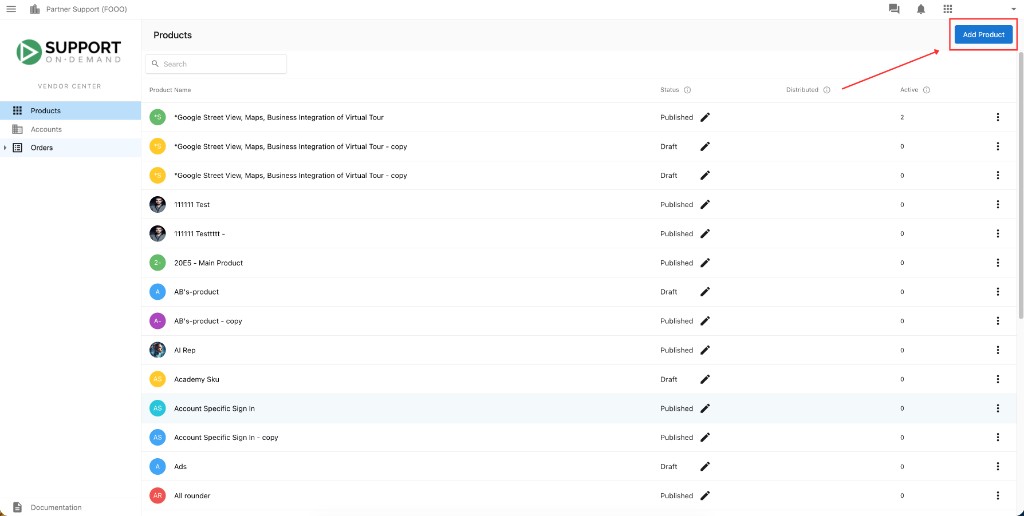
- From Partner Center, click
Open Vendor Center, which appears in the left sidebar underMarketplaceor in the top right corner besideCreate product. - In Vendor Center, go to
Products, then clickAdd Productin the top right corner.
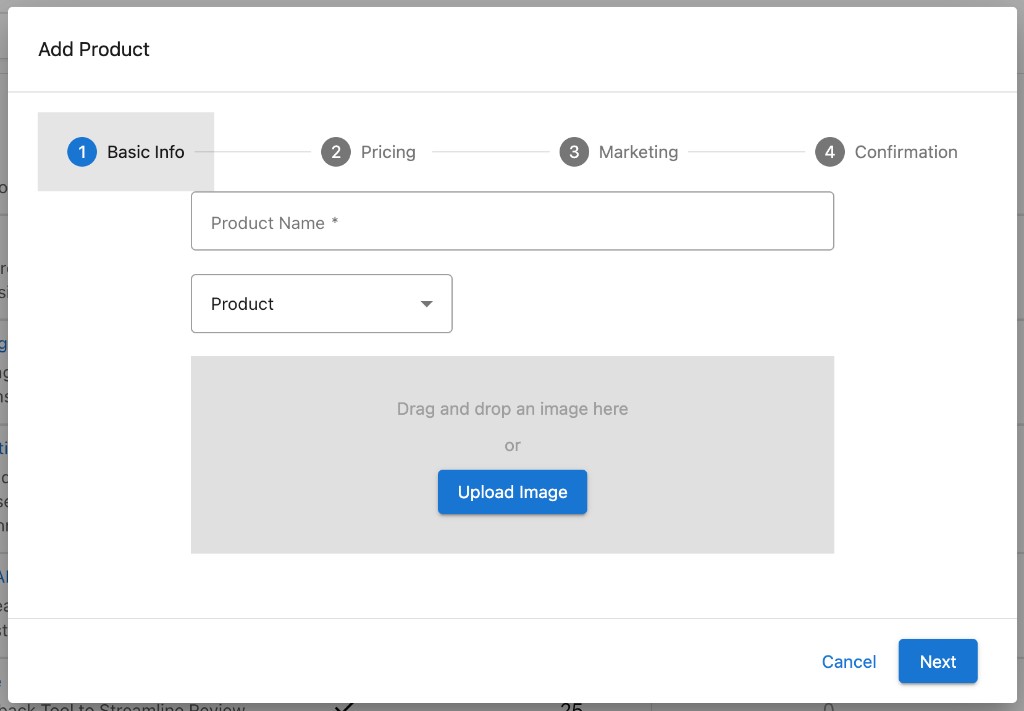
Both paths open the same product creation flow. When you click the button, an Add Product dialog opens. Work through the four steps:
Basic Info: Enter the product name, select the product type, and upload an image.Pricing: Set your price and billing options.Marketing: Add marketing materials for your product listing.Confirmation: Review your choices.
When you finish these steps, you can Publish to store to make the product available immediately, or Continue editing in Vendor Center for more options.
How do I customize a product in Vendor Center?
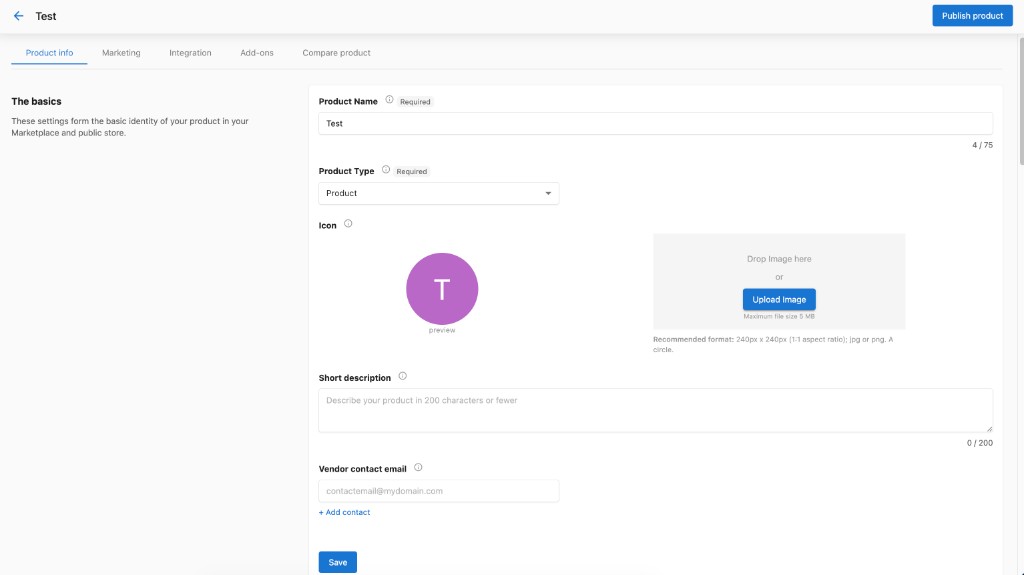
If you choose to continue editing, you'll land on your product page in Vendor Center. Here you have access to more options across several tabs:
Product info: Refine the product name, type, icon, short description, and vendor contact email. This is also where you set the pricing model, prices, billing period, subscription terms, trials, and editions, plus product activation and order forms.Marketing: Add and manage marketing materials for your Marketplace listing.Integration: Configure SSO, fulfillment, and product access. See Integrate your product.Add-ons: Create add-ons to sell alongside your product.Compare product: Open your product in the Marketplace to preview how it will look when published, and suspend new activations.
Related guides
- Set your product's price: Adjust pricing and choose from Fixed, Variable, or Contact Sales models
- Order form guide: Order forms and fulfillment settings
- Task Manager integration: For service vendors: fulfillment tracking
- Create projects: For service vendors: project creation and tracking
Frequently asked questions
Can I add a link to my custom product?
You can add a link to your custom product in Vendor Center under the Integration tab. When active on an account, your custom product then appears in the product menu in Business App and is clickable. You can link to external dashboards, websites, and even eBooks.
-
Navigate to Vendor Center from the 9-box menu in the top right-hand corner of your Partner Center dashboard.
-
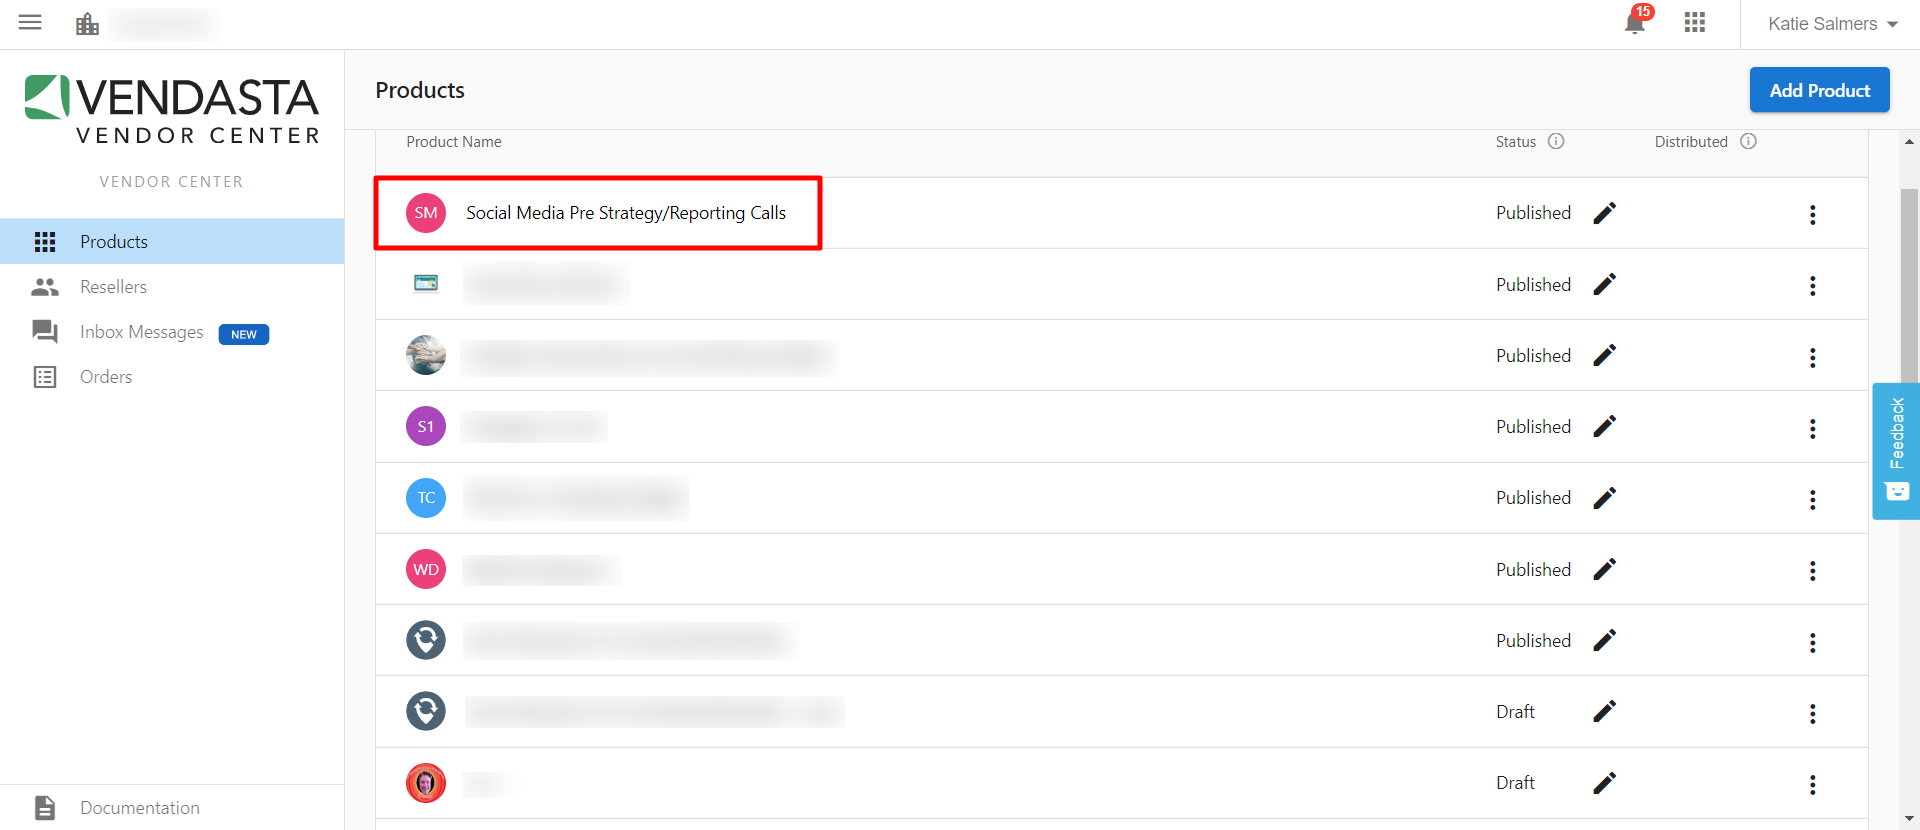
Click on the custom product you would like to work on.
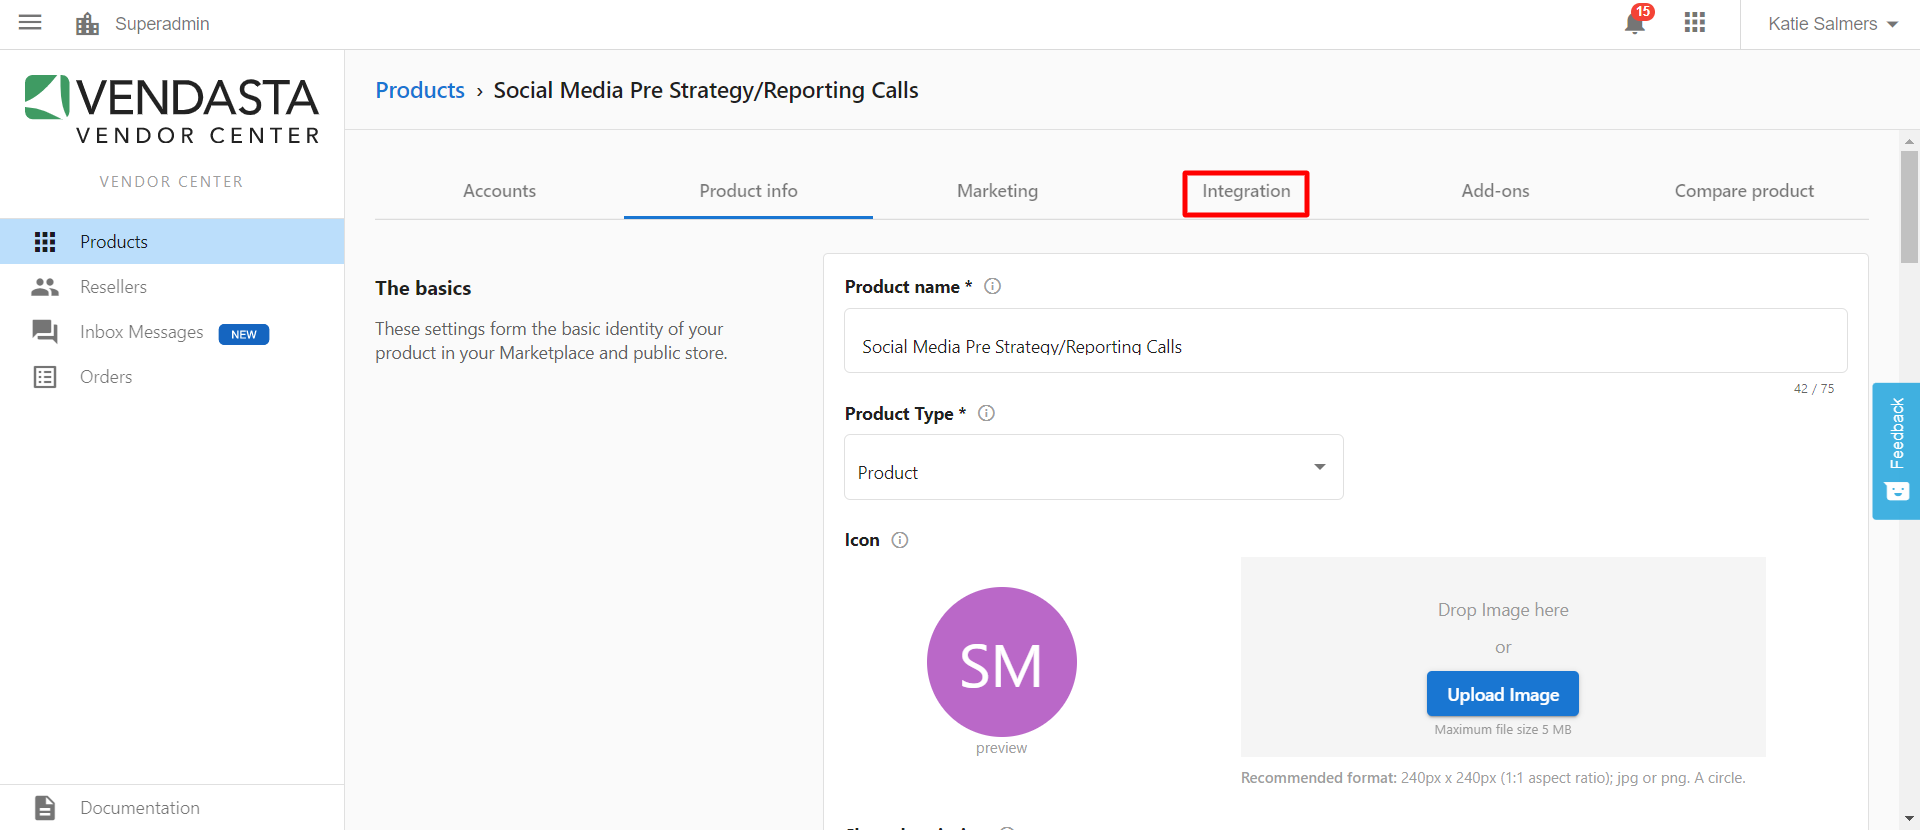
- At the top of the screen, select the
Integrationtab.
- Under
Access and SSO, add a link underProduct access URL.
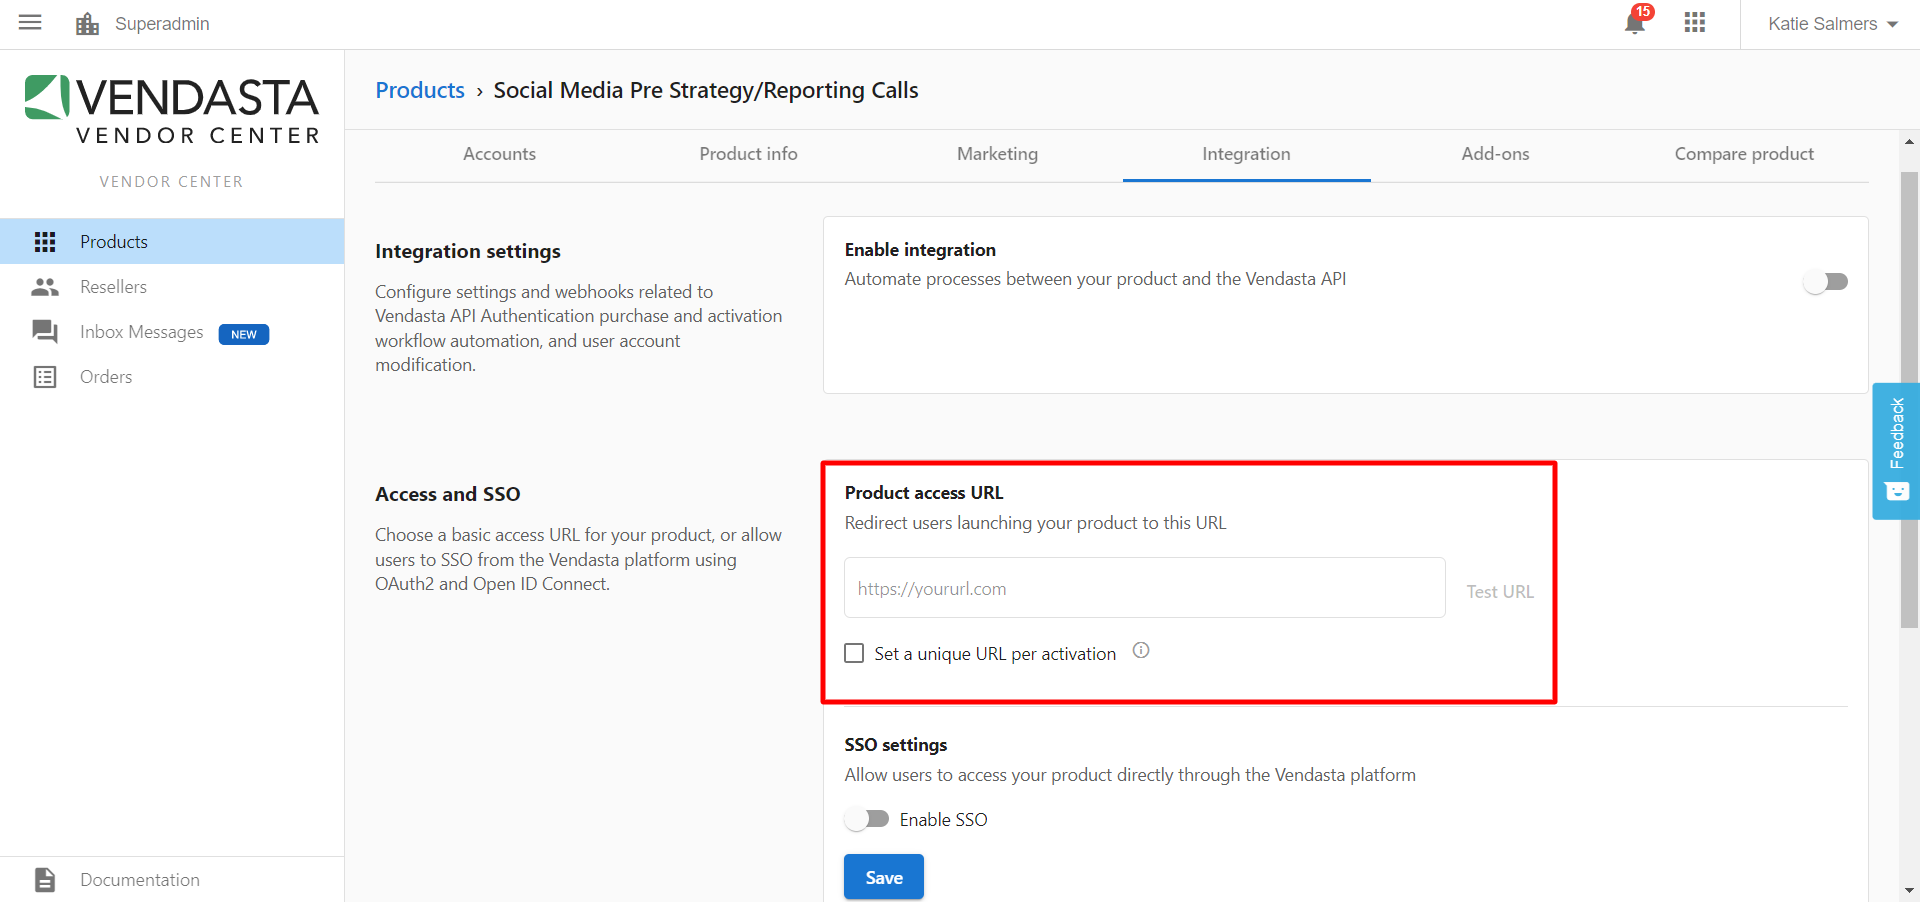
- Click
Save.
You can choose to have a custom URL per activation. If you check off this box, you will be able to add a specific URL to the order form for each individual activation.
Can I add a new category in Vendor Center?
Partners cannot add a custom/new category in Vendor Center for their own custom product(s). Partners can only choose from the default LMI (Local Marketing Index) categories available in Vendor Center → Marketing. The selected category (primary and secondary) will determine where your custom product will appear in the Marketplace.
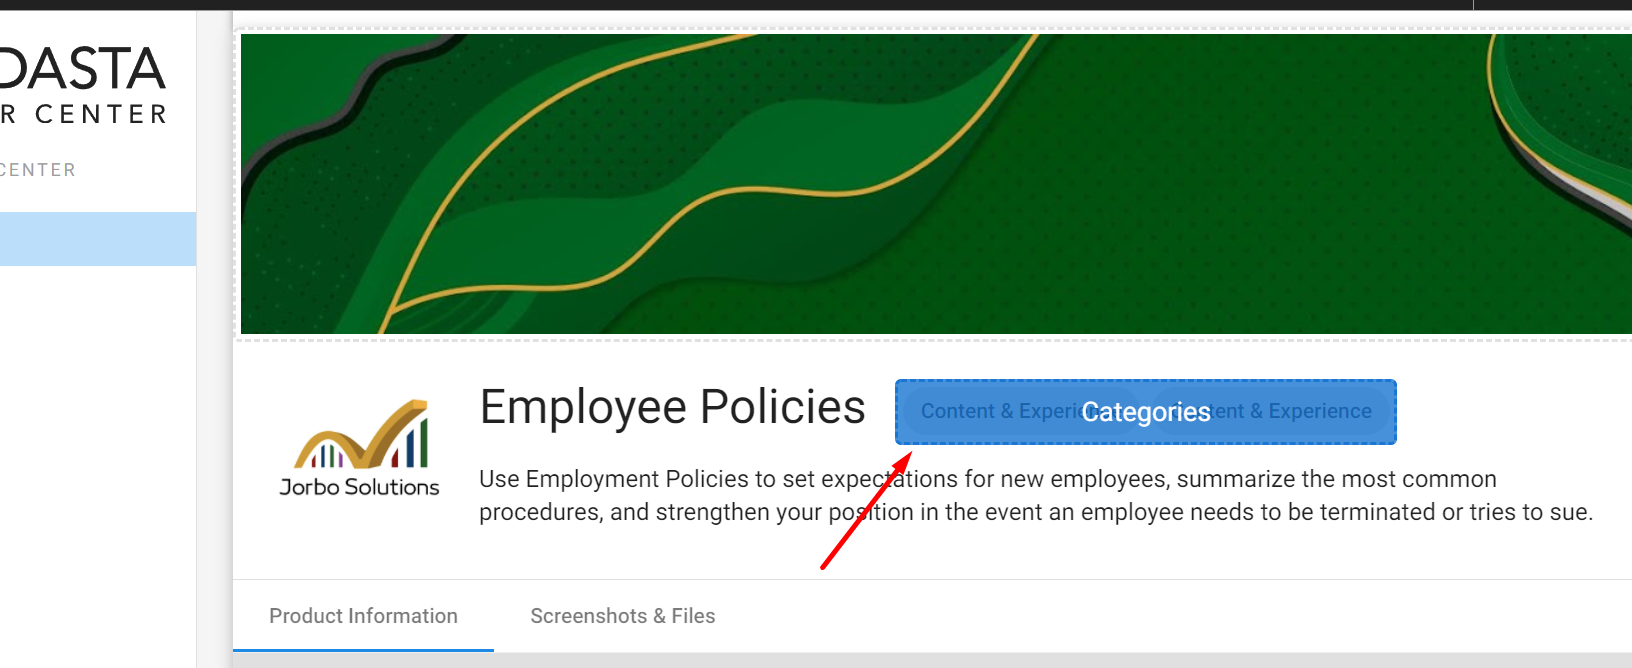
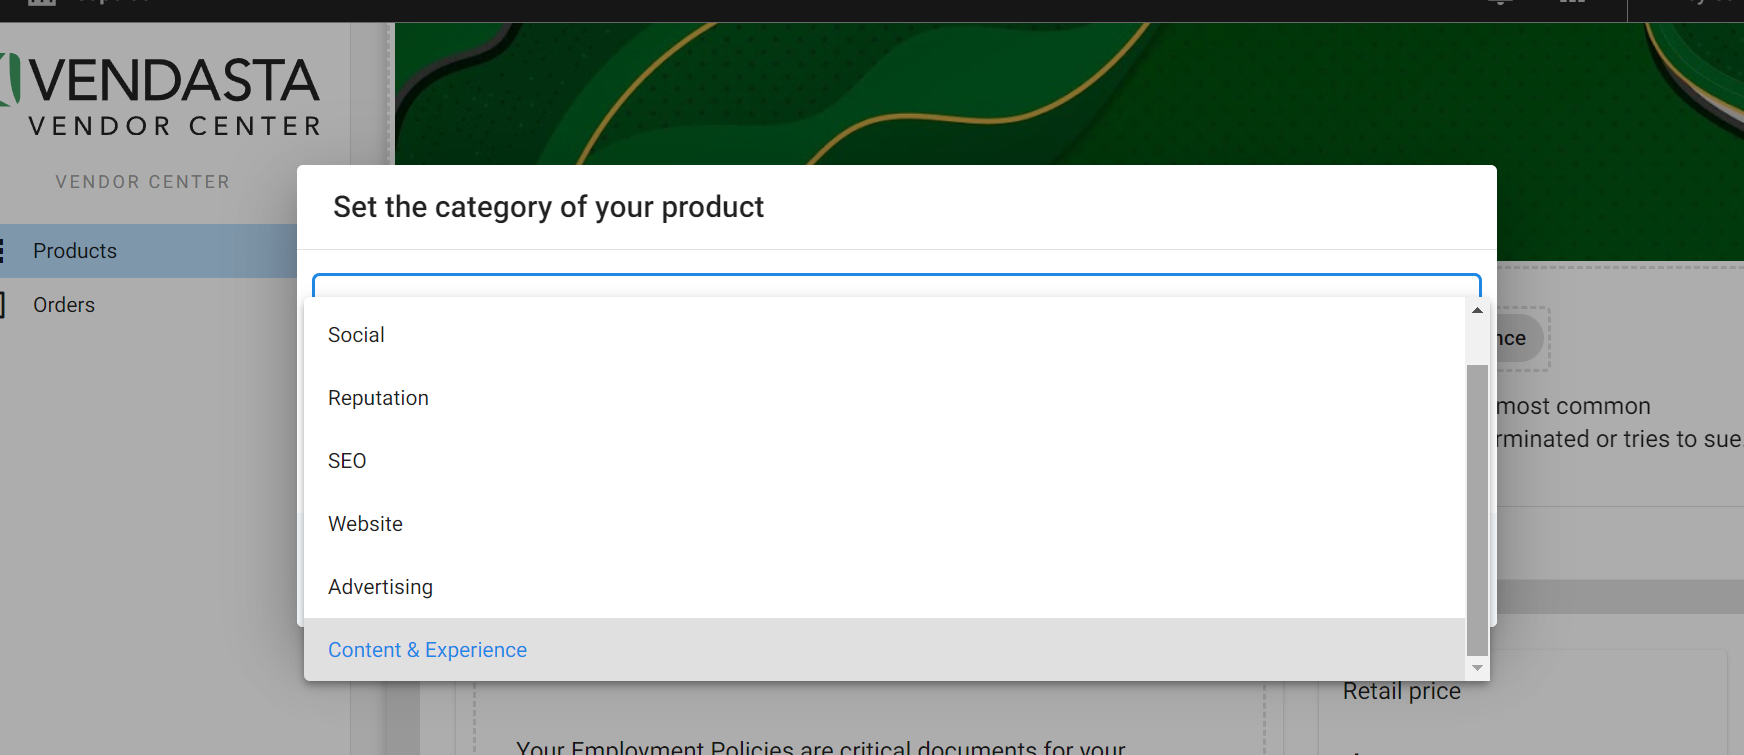
These categories work like product tags in Marketplace (beside product description).

Can I delete a custom product or add-on?
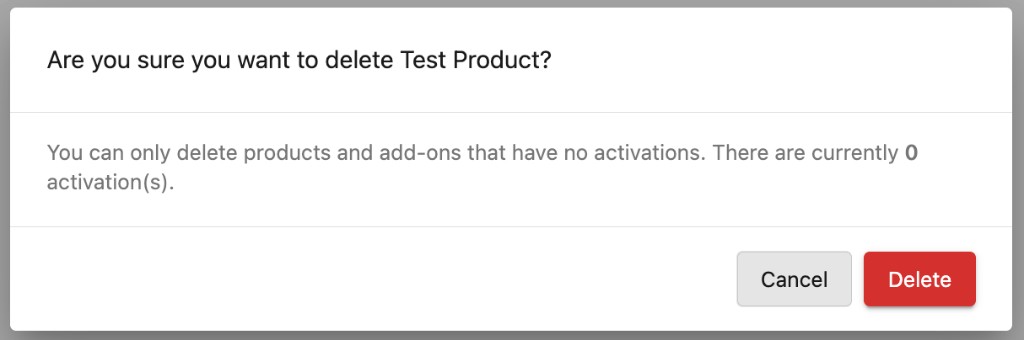
You can only delete products and add-ons when they have zero activations. If the product is active on any accounts, deactivate it from all accounts first.
How do I make a product I created available in my store?
When you finish the four steps in the Add Product dialog, click Publish to store to make the product available immediately. To set more options first, click Continue editing in Vendor Center.
Can I sell my own products alongside Vendasta products?
Yes. Just like the products in the Vendasta Marketplace, you can sell the products you create in your store on their own or package them with other products and services.
How do I change the name or pricing model of a product?
Open the product in Vendor Center and go to the Product info tab, where you can refine the product name and set the pricing model, prices, and billing period. For pricing models such as Fixed, Variable, or Contact Sales, see Set your product's price.
How do I add optional services to a product?
Create add-ons in the Add-ons tab of the product in Vendor Center. Use add-ons for optional features or services related to the product, such as an additional website page.
Can customers buy an add-on without its parent product?
No. Customers can't purchase an add-on until they've purchased the add-on's parent product.
What's the difference between an edition and an add-on?
An edition is a version of your product with its own level of service, functionality, or pricing, and customers can upgrade or downgrade between editions. An add-on is an optional feature or service sold alongside the product.
Can I sell my own products or services through the platform?
Yes. Create custom products in Vendor Center (Marketplace → Open Vendor Center). This is how most partners bill for their own work, and the products can be kept off your public store. For your own products, set fulfillment to reseller (you), which puts the work in your Task Manager.