Connect payments and billing
Outcomes
Two prices on every product
Getting paid runs on one relationship: you buy products from Vendasta at a wholesale price, and you sell them to your clients at the retail price you set. Every product has two prices, and the difference between them is your margin. Flip each one:
Each active product creates two matching subscriptions: a wholesale subscription from you to Vendasta, and a retail subscription from your client to you. You manage both from Partner Center.
Choose how you collect
Vendasta Payments lets a client pay an order or invoice with a card inside the platform, and pays that revenue out to your bank account. It comes with a paid subscription; free and trial tiers do not carry it. It runs on Stripe, and there are two ways to set it up:
Connect an existing account. The Stripe account belongs to you, and everything on it stays yours wherever your business goes: your transaction history, your reporting, and the rates you have already negotiated with Stripe. Your Stripe rates are unchanged, and the platform adds a 0.75 percent platform fee on each transaction.Set up Stripe account. A new account created through the platform rather than under your own Stripe login. There is no platform fee, and processing runs at the standard rate: 2.9 percent plus 30 cents per transaction in USD, CAD, AUD, and NZD. Approval typically takes one to two business days. The account lives inside the platform, which means the account and the payment history on it stay with the platform.
Both collect the same payments; the difference is who holds the account. Connecting your own account is the recommended route. The 0.75 percent buys you ownership: the history, the reporting, and the Stripe relationship stay with your business wherever it goes. If you do not have a Stripe account yet, opening one at stripe.com takes a few minutes and leaves you with an account of your own to connect.
Decide before your first transaction, because connecting your own Stripe account stays available only until you process a payment through a platform-created one. You can also skip in-platform collection entirely and bill clients through whatever system you already use.
A client can also pay by bank transfer, over the ACH network, which is worth knowing before you send a large invoice: the fee is 1 percent of the invoice amount, not the per-transaction card rate. The ACH payments guide covers what it costs, what has to be in place first, and how to request it on an invoice or a subscription.
Set up Vendasta Payments
Watch how Vendasta Payments works before you start the application:
One check before you apply: the platform reads your details from the Billing contact card at Administration → My billing, and an incomplete address there is what produces an "Unsupported in Your Area" message. It is usually filled in when your account is created, so give it a look before you start.
The application itself is a Stripe identity check, and it goes fastest with everything in front of you:
- Your legal business name, exactly as it appears on your tax ID
- Your business number: EIN in the United States, CRA business number in Canada
- Your operating name, if you trade under a different one
- Your registered business address. A home address works if you do not have one
- The account representative's legal name, home address, and government ID
- The bank account your payouts land in: country, currency, transit number, institution number, and account number
Two fields on that page are yours to set, not Stripe's. The Customer statement description is how charges appear on your customers' statements, and you have 22 characters for it: replace the default with your own business name. And Receiving bank account is an in-platform form rather than a Stripe screen, which is where those bank details go.
This part runs across several Stripe screens, it asks for government ID, and approval typically takes one to two business days. Work through it with the Vendasta Payments guide open beside you, which covers every field in order.
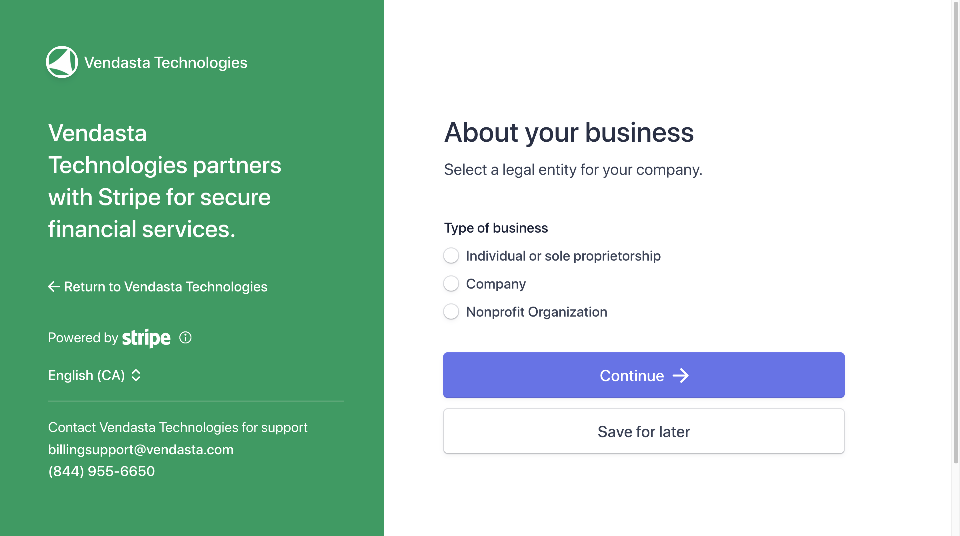
Once you are approved, payments your clients make appear under Commerce → Payments. Stripe holds your first payments for up to a week, then pays out on a 7-day rolling basis into the bank account you added. The full field-by-field detail is in the Vendasta Payments guide.
Run one real transaction on your own account before a client's money is in it.
Labrun one real transaction
Go to Marketplace → Products, with your own account to hand.
Set billing to collect on its own
Default billing settings decide what happens on every renewal, and they apply automatically to each new account you create. Set this once and collection is handled from then on.
Labturn on default billing automation
Go to Administration → Default billing settings.
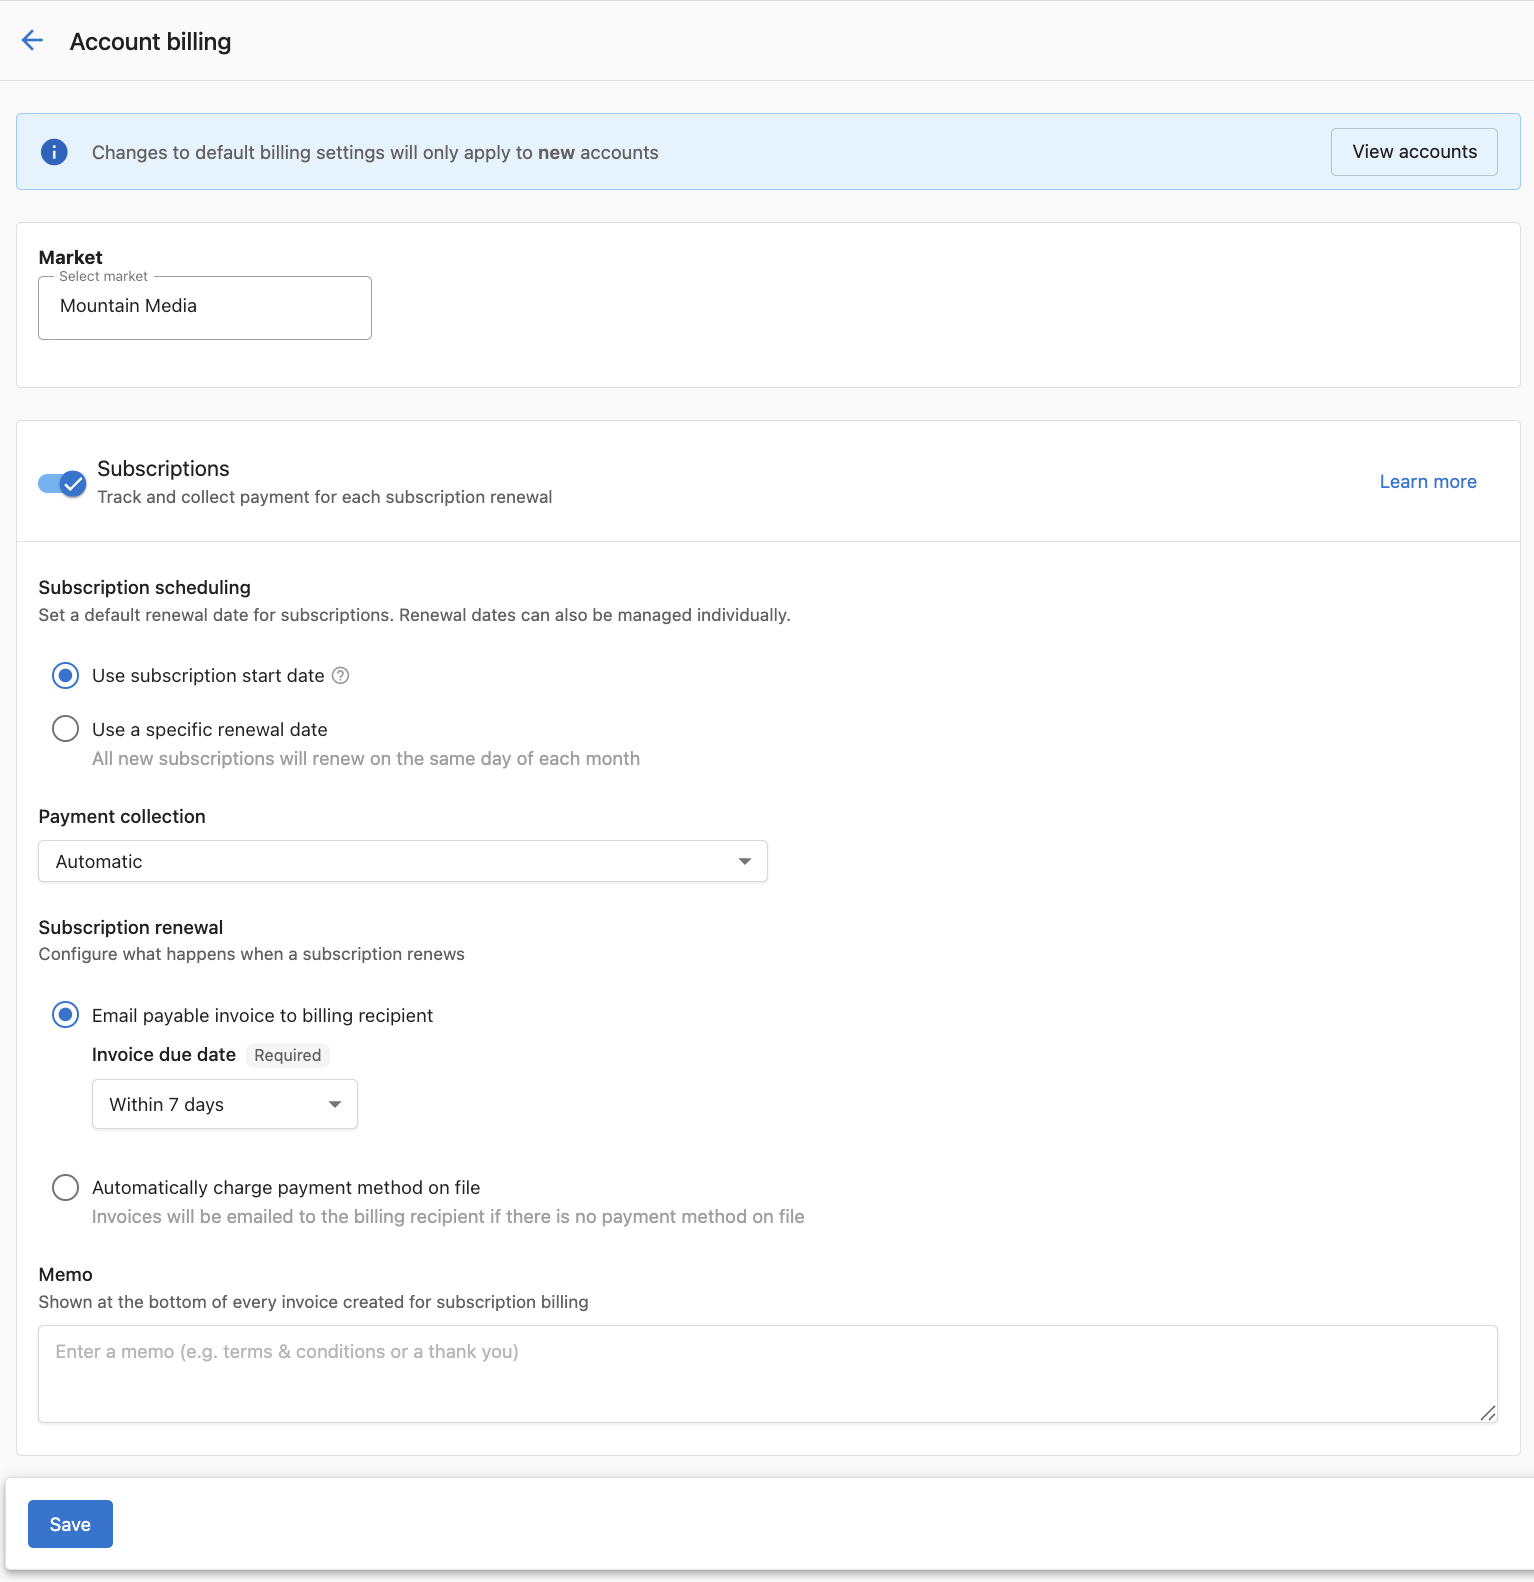
The page carries a Memo field as well, which prints at the bottom of every invoice subscription billing creates. This applies to accounts created after you save. Accounts that already exist keep their current settings, and any single account can be switched from its own billing settings under Accounts → Manage Accounts. That is how a client who needs net terms, or who should not be charged the moment an order lands, gets treatment different from your default. This guide covers the options.
Where your retail prices live
Pricing is yours to control, and automatic collection depends on it: without a retail price on an edition, there is no amount for it to calculate. Products arrive carrying the vendor's suggested retail price, so a number is already there and nothing is blocking your first sale. Those suggestions run on the conservative side, though, and raising them is the norm rather than the exception, so treat the number you inherit as a floor rather than a recommendation.
Your prices live at Marketplace → Products, on a product's Product info tab, in the Product settings section, where Retail price lists each edition separately. Your wholesale cost lives elsewhere: Marketplace → Discover Products carries Your cost columns beside the vendor's suggested retail, which is where you check margin before you set a number.
The natural moment to set your own prices is when you build the packages you actually sell, not product by product on day one. One fact keeps the numbers clean whenever you get to it: a catalog price change applies to new subscriptions from then on. Existing clients keep the price they signed up at unless you edit their subscription directly, and an edit takes effect on the next billing cycle. This guide covers subscription management.
What this month is tracking toward
One tab answers "where is my Vendasta bill sitting right now?" Go to Administration → My billing, then the Estimated Usage tab. It breaks down what you will pay at the end of the month based on the products currently active: Products, Units, Gross Total, Discounts, and Net Total, product by product rather than as one figure. It pages, so work down it rather than looking for a total at the bottom.
The Discounts column shows what is coming off your gross. Active subscriptions, three tabs along, names which products are in the current cycle and when any of them expire. This guide covers every tab on the billing page.
Knowledge Check
Three quick questions on the two prices, the Stripe decision, and where the money shows up.